Z-axis tool setter standard introduction
Z-axis tool setter standard introduction
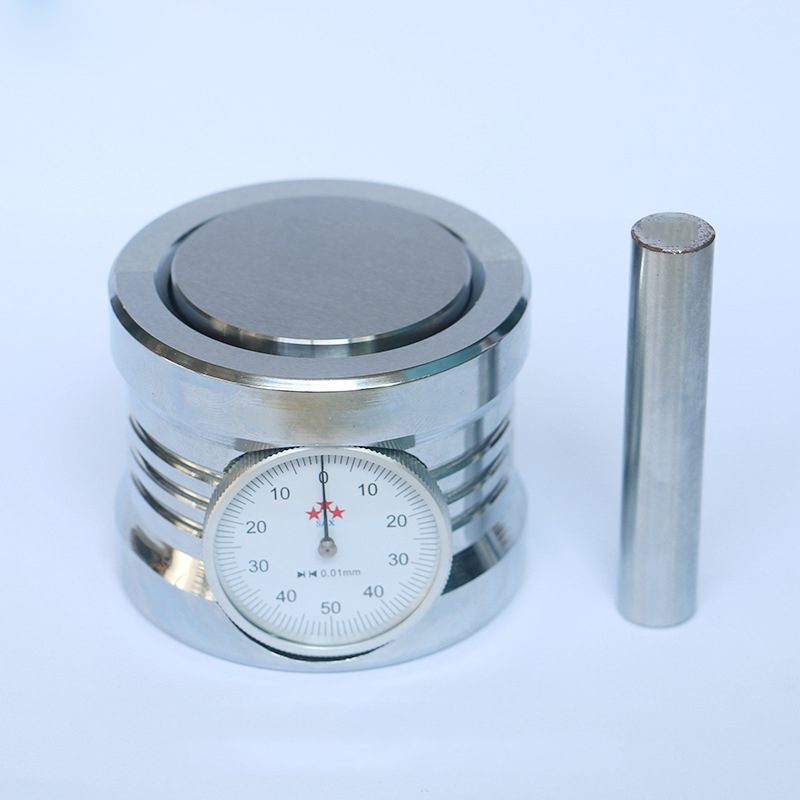
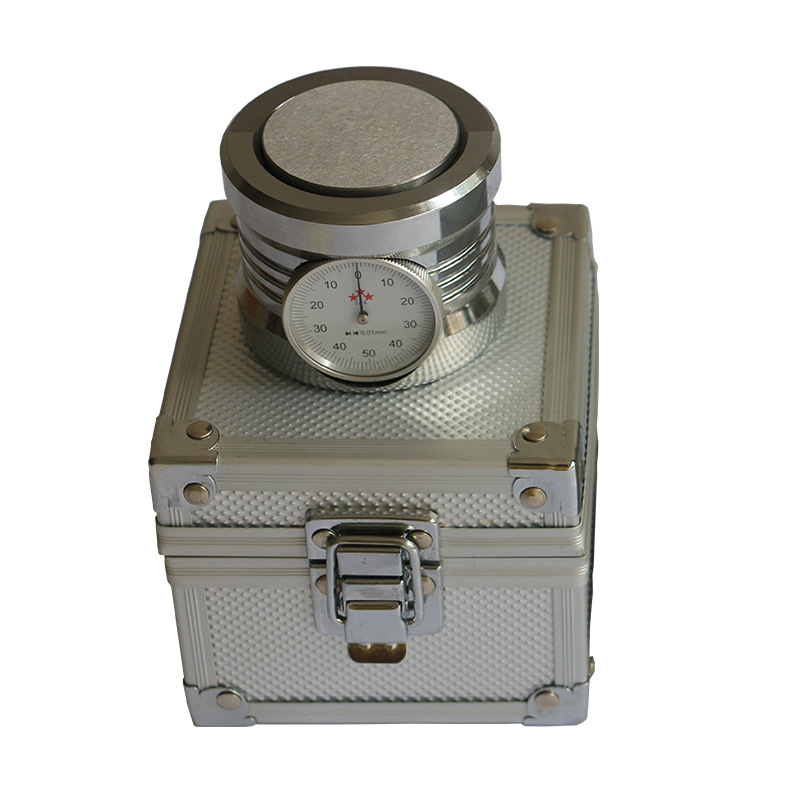
In CNC machine tool processing, accurate tool setting is a crucial step. The Z-axis tool setter is
tools that play an important role in this process. It can accurately determine the height position of the workpiece surface by detecting the height of the cutting tool in the Z-axis direction.
In order to ensure the accuracy of the Z-axis tool setter, corresponding standards have been formulated. The following is a standard introduction to the Z-axis tool setter
- Accuracy level standards
The accuracy grade standard of Z-axis tool setter is divided into 5 levels, from high to low, they are level 0, level 1, level 2, level 3 and level 4. Among them, level 0 is the highest accuracy level, and level 4 is the lowest accuracy level.
In cutting processing, for some workpieces that need to be processed with higher precision, it is necessary to choose a Z-axis tool setter with a higher accuracy level for tool setting. - Measurement range standards
The measuring range of the Z-axis tool setter refers to the height range that can be detected. According to different usage requirements, the measurement range of the Z-axis tool setter is divided into 3 standards: - Standard type: Measuring range is 0~200mm, suitable for general processing needs.
- Extended type: Measuring range is 0~300mm, suitable for processing needs of relatively artificial parts.
- Extra large: The measuring range is 0~500mm, suitable for the processing needs of special large workpieces.
It should be noted that the measurement range of the Z-axis tool setter should be selected according to the size of the workpiece and specific processing requirements to avoid the inability to set the tool due to the narrow measurement range. - Check error standards
The detection error standard refers to the error range produced by the Z-axis tool setter during measurement, which is considered from two aspects: absolute error and relative error. Its standards are as follows:
1.Absolute error:0.001mm - Relative error: 0.02%
It is worth mentioning that the limit of the error range is not as small as possible, but needs to be selected and adjusted according to the specific processing requirements and workpiece accuracy level. - Use specifications and standards
Specifications for the use of Z-axis tool setters mainly include the following aspects: - How to use: It must be used correctly according to the instruction manual.
- Cleaning and maintenance: Cleaning and maintenance must be carried out according to cleaning and maintenance requirements.
- Storage conditions: It should be stored in a dry, ventilated and dark place to avoid moisture, heat, direct sunlight, etc.
- Inspection cycle: Regular inspections should be carried out, and the inspection cycle should not exceed half a year.
The above is the standard introduction of the Z-axis tool setter. Only by complying with the standards and correctly selecting and using the Z-axis tool setter can we ensure the processing quality, improve efficiency, and ultimately achieve excellent processing results.
