How to calibrate digital display dial indicator
How to calibrate digital display dial indicator
- First, put on clean gauze gloves with both hands and fix the digital display dial indicator to be calibrated on the altimeter frame.
- Use dust-free wipes to clean the measuring surfaces of block gauges, dial indicator probes and other parts and the marble platform.
- Adjust the height so that the digital dial indicator pointer contacts the marble platform and starts to rotate 5 notches. Lock the screw to maintain the height of the digital indicator and turn the digital indicator to zero.
- Place the middle of the measuring surface of the gauge block on the dial indicator calibration point between the probe and the marble platform, read the value and fill in the “Calibration Report”.
How to use and pay attention to the digital display dial indicator
- When using a digital dial indicator, it should be clamped on a special frame or other reliable bracket. Do not easily clamp the digital dial indicator in an unstable place. Not only will this result in inaccurate measurements, it may also damage the indicator.
In order to enable the digital dial indicator to successfully measure radial runout and lateral runout in various situations, for example, when measuring radial runout or lateral runout on a lathe, the digital dial indicator should be clamped to a magnetic gauge frame or a universal gauge. used on the frame. The instrument rack should be placed on a flat plate, workbench or flat surface. The up, down, front and back positions of the digital display dial indicator on the instrument bracket can be adjusted arbitrarily. Note that the contact surface of the digital dial indicator should be perpendicular to the surface of the workpiece to be measured.
- When the clamping sleeve of the digital dial indicator is stuck in the fastening sleeve of the instrument frame, the clamping force must not be too large. After clamping, the measuring rod should be able to move smoothly and flexibly without sticking.
- After clamping the dial indicator, do not turn the indicator body before loosening the tightening sleeve. If you need to turn the indicator direction, loosen the tightening sleeve first.
- During the measurement process, gently lift the measuring rod I, move the workpiece under the measuring head, and then slowly lower it. The measuring head comes into contact with the workpiece. The workpiece must not be pressed under the measuring head, and the measuring head must not drop sharply to avoid instant impact measurement force and measurement errors. The contact method between the probe and the workpiece is shown in Figure 4. The above method should also be followed when adjusting the workpiece.
- When using a digital display dial indicator to calibrate or measure a workpiece, the measuring rod should have a certain initial measurement pressure. That is, when the measuring head contacts the surface of the workpiece, the measuring rod should have a compression force of 0.3~1mm, causing the pointer to rotate about half a turn, and then rotate the dial so that the zero mark of the dial is aligned with the pointer. Gently pull the round end of the hand-held measuring rod, pull it up and relax several times, and check whether the zero position pointed by the pointer changes. When the zero position of the pointer is stable, start measuring or correcting the workpiece. If the workpiece is calibrated, the relative position of the workpiece will be changed, and the deflection value of the pointer will be read, which is the deviation value of the workpiece installation.
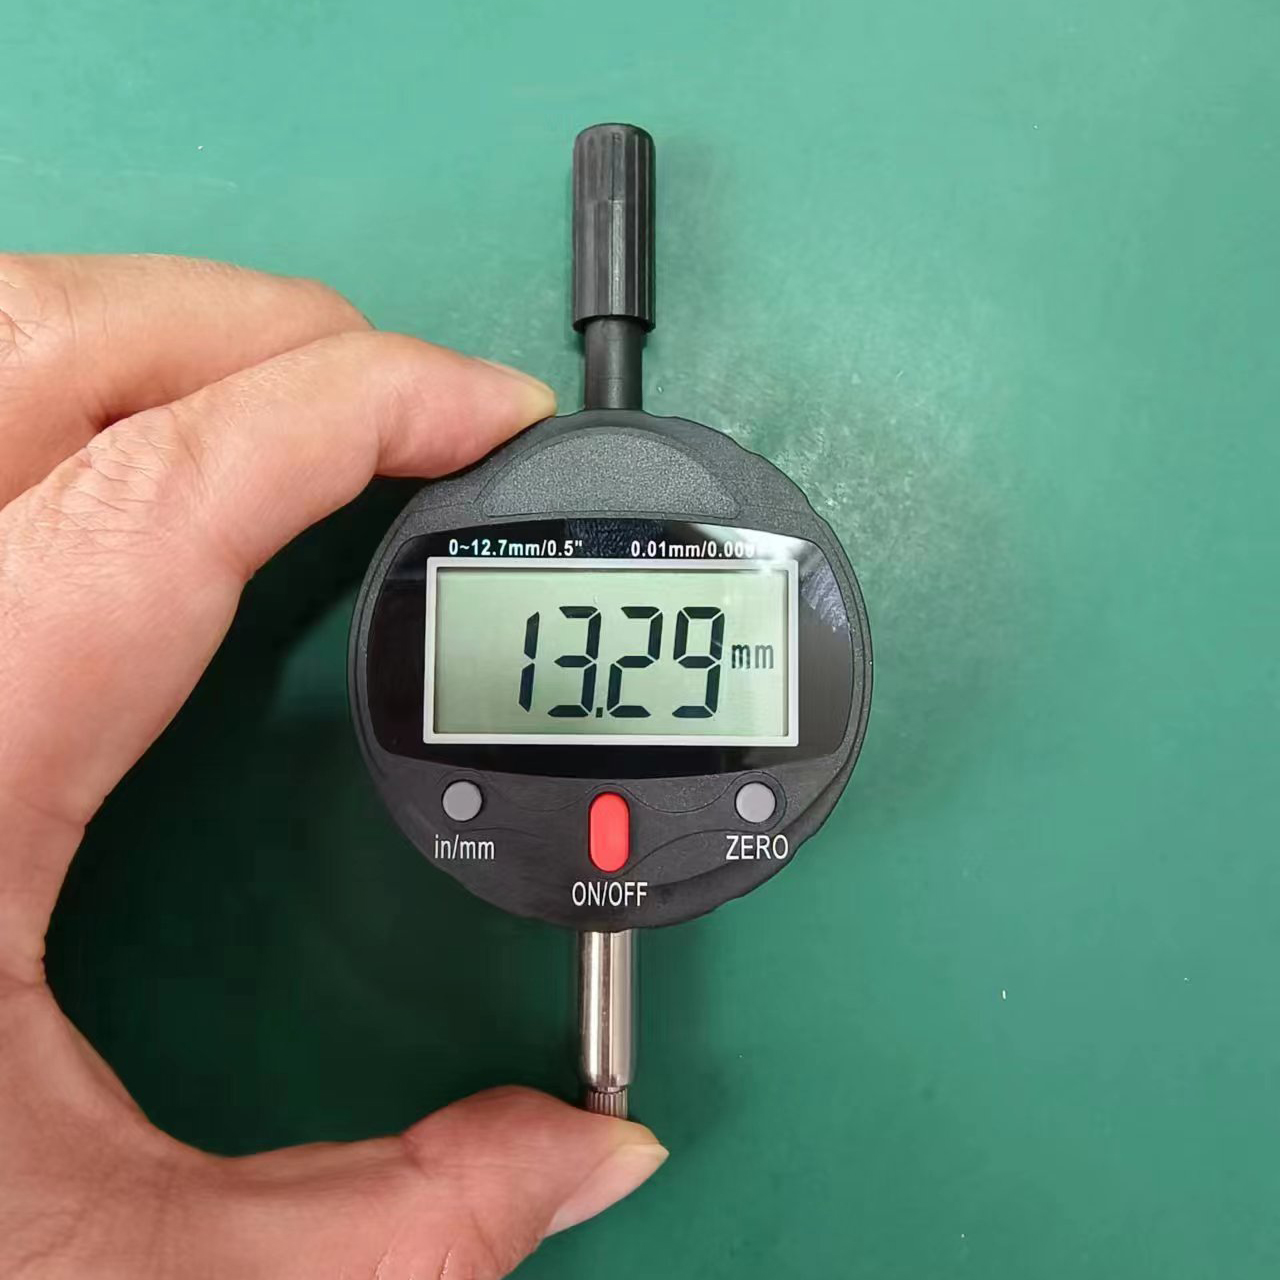
The reading method of the digital dial indicator: first read the scale line where the small pointer rotates (i.e. the whole millimeter), then read the scale line where the large pointer rotates (i.e. the decimal part), multiply by 0.01, and then add the two, Get measurements.