The most complete instructions for using the dial indicator
The most complete instructions for using the dial indicator
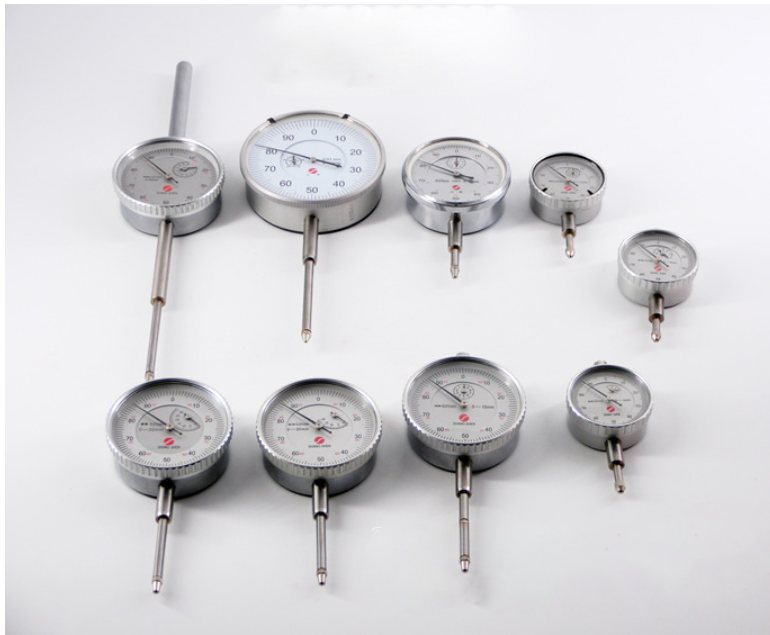
The dial indicator is a comparative measuring tool with high precision, mainly used to detect the shape and position error of the workpiece, and it can also be used to correct the installation of the workpiece on the machine tool. It can only measure relative values, not absolute values.
1. The working principle of dial indicator
The small linear movement of the measuring rod caused by the measured size is amplified by the gear transmission and turned into the rotation of the indicator on the dial, so as to read the measured size.
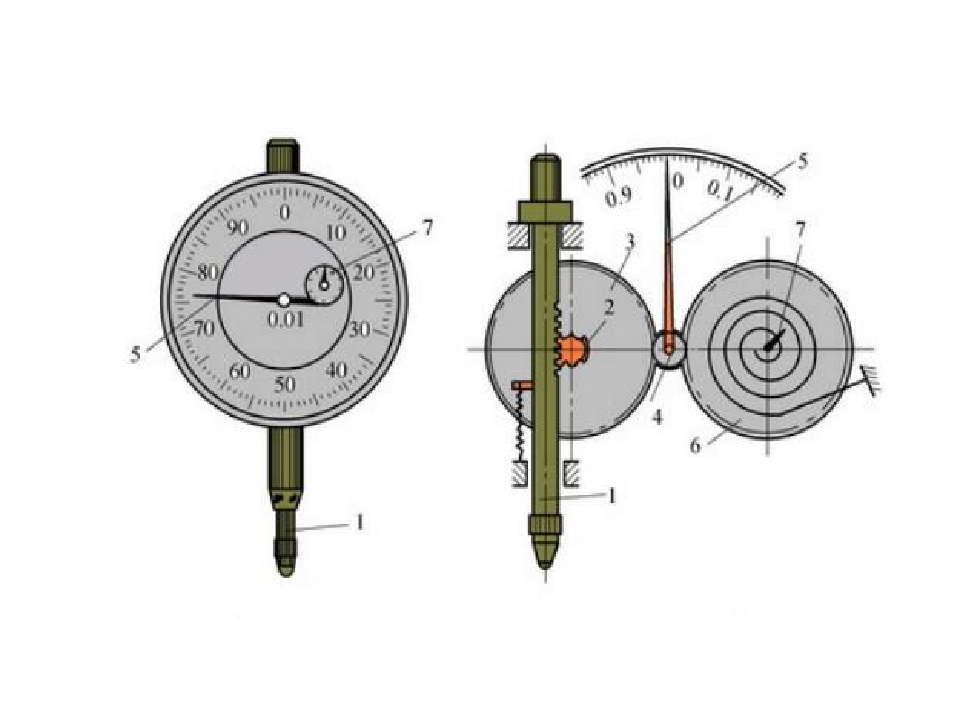
When the measuring rod moves up or down by 1mm, the gear transmission system drives the large pointer to make one revolution, and at the same time the small pointer to make one division.
2. Reading method of dial indicator
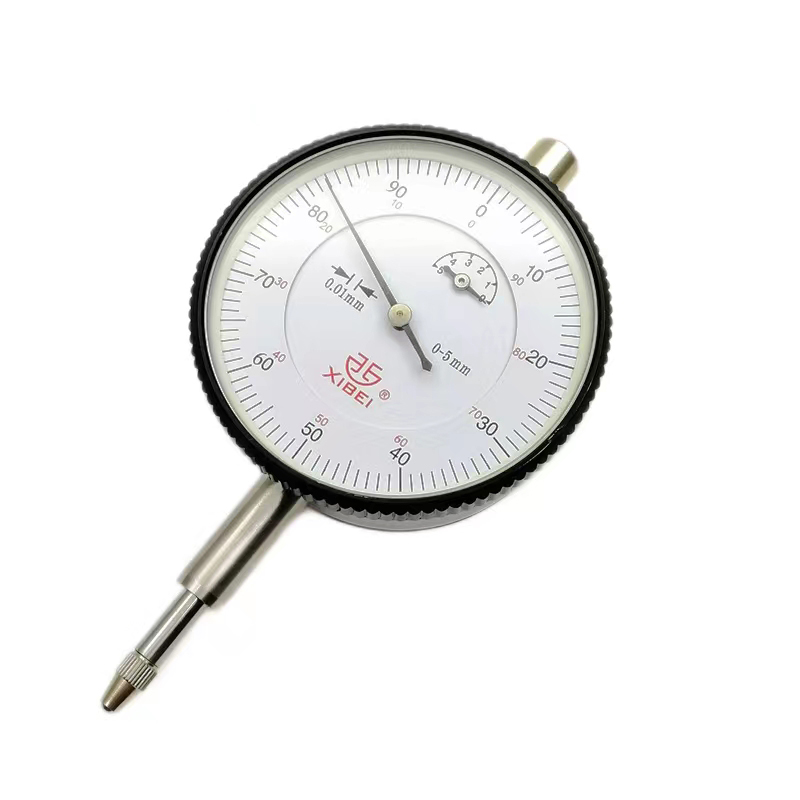
The large pointer reads 0.01mm per revolution, and the small pointer reads 1mm per revolution.
First read the scale line that the small pointer turns (that is, the millimeter integer), then read the scale line that the big pointer turns (that is, the decimal part), and multiply by 0.01, and then add the two to get the measured value.
3. Precautions for using dial indicator
Before use, the flexibility of the measuring rod should be checked.
When measuring, do not make the stroke of the measuring rod exceed its measuring range.
When measuring a plane, the measuring rod of the dial gauge should be perpendicular to the plane. When measuring a cylindrical workpiece, the measuring rod should be perpendicular to the center line of the workpiece. Otherwise, the measuring rod will not move properly or the measurement result will be inaccurate.
4. Alignment of rotating mechanical coupling
1. Before measuring, check whether the measuring instrument is in good condition and verify the flexibility of the meter.
2. Observe whether there is dust and debris on the shaft end of the coupling, and clean it with a rag to prevent subsequent measurement errors from being affected.
3. The general sequence when installing the dial indicator is: magnetic meter base, bracket, dial indicator.
4. After the installation is completed, generally turn the dial to zero.
5. Rotate the half-coupling for one week and observe whether the pointer returns to its original position.
6. When measuring, first measure the radial reading a1 and the axial reading s1 of the 0° azimuth. For the convenience of calculation, often adjust a1 and s1 to zero, rotate the half coupling, and record the values in two tables every 90°.
7. Verification: radial readings a1, a2, a3, a4 should satisfy a1+a3=a2+a4; axial readings s1, s2, s3, s4 should satisfy s1+s3=s2+s4. If it is not satisfied, the jacking screw needs to be adjusted until it meets the requirements.
8. Disassembly The disassembly sequence is generally as follows:
Dial indicators, brackets, magnetic dials
9. Wipe the instrument clean and pack it into a box.